No Knead Gluten Free Bread
Highlighted under: Healthy Recipe Ideas
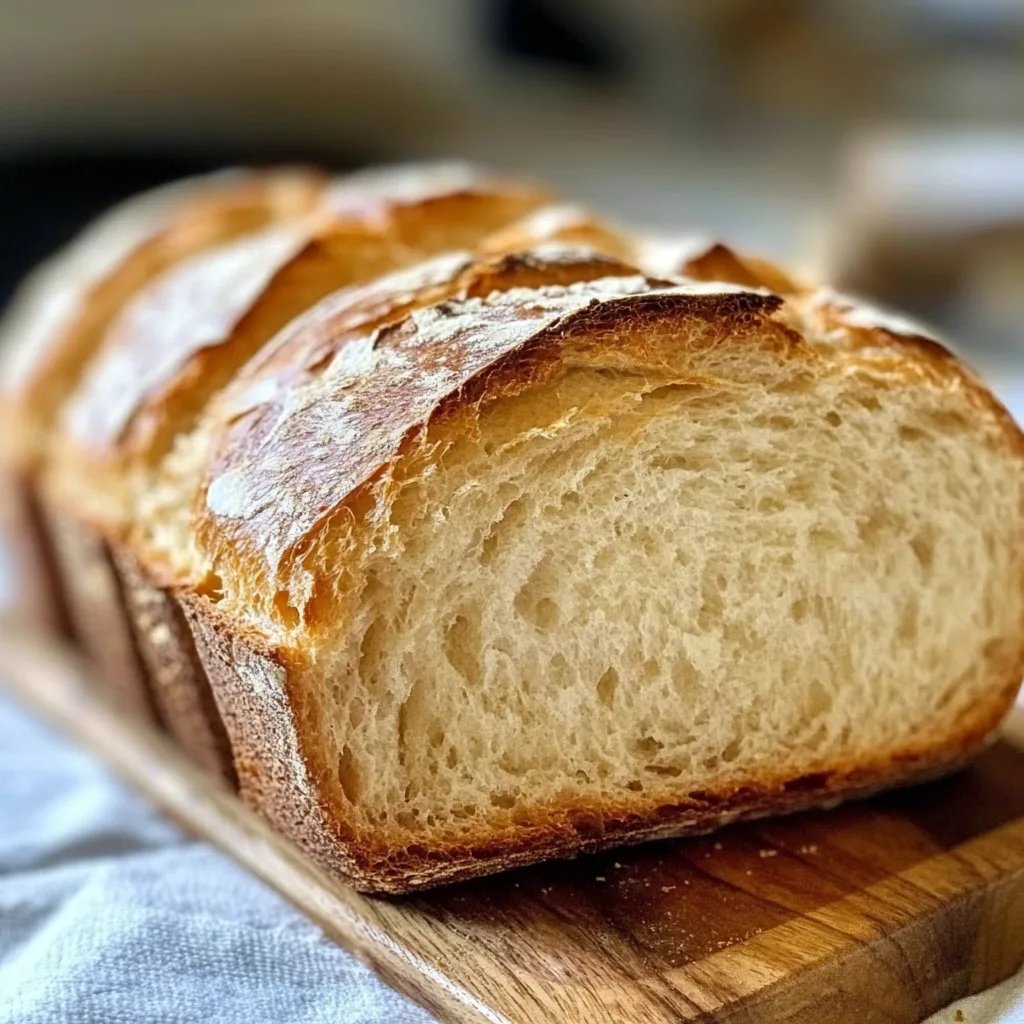
Create deliciously fluffy and crusty gluten-free bread without the fuss of kneading! This simple recipe uses easy-to-find ingredients and a hands-off approach to deliver a satisfying loaf that’s perfect for sandwiches or enjoying with your favorite spreads. Say goodbye to store-bought bread and hello to homemade goodness!

This recipe transforms the way you think about gluten-free bread. With no need for kneading, you'll save time without sacrificing taste!
Why You'll Love This Bread
- No kneading required!
- Perfectly fluffy and crusty texture.
- Great for sandwiches and toasting.
- Quick and easy to make.
The Benefits of Gluten-Free Baking
Gluten-free baking opens the door to a world of flavor and texture, allowing those with dietary restrictions to enjoy delicious breads without compromising taste. Traditional breads can be a challenge for gluten-sensitive individuals, but this no-knead gluten-free bread recipe ensures that everyone can savor the experience of freshly baked bread. Opting for gluten-free ingredients not only caters to those with celiac disease or gluten intolerance but also provides an opportunity to explore new grains and flours, such as rice, almond, or oat flour, which can enhance the nutritional profile of your bread.
Moreover, gluten-free baking can be more accessible than you might think. With a few key ingredients and simple techniques, you can create a loaf that rivals any store-bought option. This no-knead method saves time and effort, making it perfect for busy lifestyles. Instead of spending hours in the kitchen, you can let your dough rise while you focus on other tasks, ensuring that fresh bread is always within reach, without the hassle.
Flavor Variations to Try
One of the joys of baking your own gluten-free bread is that you can customize it to your liking. Experimenting with different flavor additions can elevate your loaf from ordinary to extraordinary. Consider incorporating herbs like rosemary or thyme for a savory twist, or fold in sun-dried tomatoes and olives for a Mediterranean flair. You can also sweeten the dough by adding honey, maple syrup, or even chocolate chips, making it perfect for breakfast or a special treat.
Additionally, seeds and nuts are excellent add-ins that not only enhance the bread's flavor but also increase its nutritional value. Flaxseeds, chia seeds, or pumpkin seeds can provide a satisfying crunch while contributing healthy fats and fiber. This versatility allows you to create a unique loaf every time you bake, keeping your meals exciting and tailored to your taste preferences.
Serving Suggestions
This no-knead gluten-free bread is not only easy to make, but it's also incredibly versatile in its use. Whether you're crafting hearty sandwiches for lunch or serving it warm with a pat of butter for dinner, this bread fits perfectly into any meal. It can also be sliced and toasted for a delightful breakfast option—just add your favorite jams or spreads to start your day off right.
For a fun twist, use this bread as a base for bruschetta or mini pizzas. Just slice it thin, toast lightly, and add your favorite toppings. This adaptability makes it a hit for gatherings and casual get-togethers, allowing you to impress your guests with delicious homemade snacks that cater to gluten-free diets. Regardless of how you choose to enjoy it, this bread will surely become a staple in your kitchen.
Ingredients
Dry Ingredients
- 2 cups gluten-free all-purpose flour
- 1 teaspoon salt
- 1 teaspoon baking powder
Wet Ingredients
- 1 cup water
- 1 tablespoon olive oil
- 1 tablespoon vinegar
Make sure all ingredients are at room temperature before starting.
Instructions
Mix Dry Ingredients
In a large bowl, whisk together the gluten-free flour, salt, and baking powder.
Combine Wet Ingredients
In another bowl, mix the water, olive oil, and vinegar.
Combine Mixtures
Pour the wet ingredients into the dry ingredients and stir until just combined.
Let Dough Rise
Cover the bowl with a damp cloth and let it sit at room temperature for 4-12 hours.
Preheat Oven
Preheat your oven to 450°F (230°C). Place a Dutch oven inside to heat up as well.
Shape the Bread
Once the dough has risen, shape it into a ball on a floured surface and let it rest while the oven is heating.
Bake
Carefully remove the Dutch oven, place the dough inside, cover, and bake for 30 minutes. Remove the cover and bake for an additional 15 minutes until golden brown.
Let the bread cool completely before slicing.
Pro Tips
For extra flavor, consider adding herbs or cheese to the dough before baking.
Storing Your Bread
To ensure your no-knead gluten-free bread remains fresh and delicious, proper storage is essential. After it has cooled completely, store your bread in an airtight container or wrap it tightly in plastic wrap. This will help retain its moisture and prevent it from going stale too quickly. For best results, keep the bread at room temperature if you plan to consume it within a few days.
If you're looking to extend the shelf life, consider freezing your bread. Slice it before freezing; this will make it easy to grab a piece whenever you need it. Be sure to use a freezer-safe bag to prevent freezer burn. When you're ready to enjoy it again, simply toast the slices directly from the freezer for a convenient and satisfying treat.
Troubleshooting Common Issues
Even with a simple recipe, you may encounter some challenges while baking your gluten-free bread. If your bread doesn’t rise as expected, ensure you’re using fresh gluten-free flour and that your baking powder is still active. Wetter dough can also help improve the texture by allowing for better steam expansion during baking, so don’t be afraid to adjust the water slightly if needed.
Another common issue might be a dense loaf. This can often happen if the dough hasn’t had enough rising time, so be patient and let it sit for the full recommended duration. Remember to ensure thorough mixing of the wet and dry ingredients for a uniform batter. With a little practice, you’ll master the art of gluten-free bread baking in no time!
Questions About Recipes
→ Can I use a different type of flour?
This recipe is designed for gluten-free all-purpose flour, but you can experiment with other gluten-free blends.
→ How should I store the bread?
Store the bread in an airtight container at room temperature for up to 3 days, or freeze for longer storage.
No Knead Gluten Free Bread
Created by: The Quickbitehub Team
Recipe Type: Healthy Recipe Ideas
Skill Level: Beginner
Final Quantity: 1 loaf
What You'll Need
Dry Ingredients
- 2 cups gluten-free all-purpose flour
- 1 teaspoon salt
- 1 teaspoon baking powder
Wet Ingredients
- 1 cup water
- 1 tablespoon olive oil
- 1 tablespoon vinegar
How-To Steps
In a large bowl, whisk together the gluten-free flour, salt, and baking powder.
In another bowl, mix the water, olive oil, and vinegar.
Pour the wet ingredients into the dry ingredients and stir until just combined.
Cover the bowl with a damp cloth and let it sit at room temperature for 4-12 hours.
Preheat your oven to 450°F (230°C). Place a Dutch oven inside to heat up as well.
Once the dough has risen, shape it into a ball on a floured surface and let it rest while the oven is heating.
Carefully remove the Dutch oven, place the dough inside, cover, and bake for 30 minutes. Remove the cover and bake for an additional 15 minutes until golden brown.
Extra Tips
For extra flavor, consider adding herbs or cheese to the dough before baking.
Nutritional Breakdown (Per Serving)
- Calories: 150
- Carbohydrates: 30g
- Protein: 3g
- Fat: 3g