Rainbow Birthday Cake: An Amazing Ultimate Recipe
Rainbow Birthday Cake is the perfect way to add a splash of color and joy to any celebration. This delightful dessert is not only visually appealing but also incredibly delicious. Imagine layers of vibrant colors, each bite bursting with sweetness that brings smiles and excitement. It's an amazing treat that can elevate any birthday party, turning it into a joyous occasion. The combination of bright hues and rich flavors makes this cake an unforgettable part of your special day.
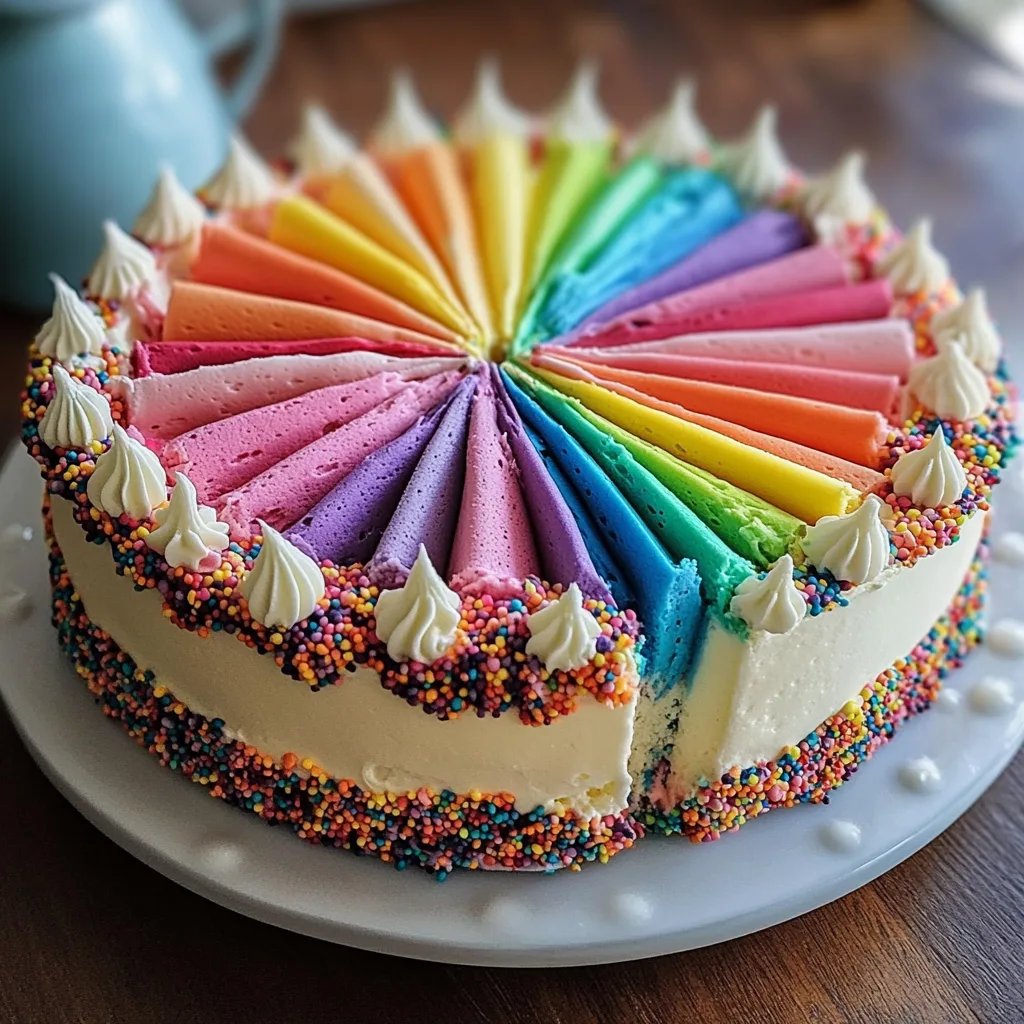
If you've ever seen a Rainbow Birthday Cake, you know how captivating it looks. The bright colors make it a showstopper, while the soft, fluffy texture ensures each slice is a pleasure. This cake isn't just for kids; adults love its whimsical appearance too! Whether you're celebrating a child's birthday or just want to try something fun, this cake is a must-make. In this guide, you will uncover why this recipe is so special, how to prepare it step by step, and tips on serving it perfectly. So, let’s dive into the world of the Rainbow Birthday Cake!
Why You’ll Love This Recipe
Rainbow Birthday Cake is loved for countless reasons. Here are just a few:
- Visual Delight: The colorful layers create a stunning centerpiece that grabs everyone’s attention.
- Joyful Experience: Watching people’s faces light up as they cut into the cake is priceless.
- Customizable Flavors: You can choose different flavors for each layer, such as vanilla, strawberry, and lemon.
- Easy to Make: With clear instructions, even novice bakers can create this masterpiece.
- Perfect for All Ages: It’s a fun treat for kids and a nostalgic delight for adults.
- Great for Parties: A slice of this cake can bring people together, sparking joy and laughter.
With these factors, you’ll see why Rainbow Birthday Cake holds a special place in the hearts of many!
Preparation and Cooking Time
Creating the delightful Rainbow Birthday Cake does require some time, but the results are well worth it. Here’s a breakdown of the total time needed:
- Preparation Time: 30 minutes
- Baking Time: 25-30 minutes
- Cooling Time: 1 hour
- Frosting Time: 20 minutes
In total, expect to spend around 2 hours on this delightful baking project.
Ingredients
- 2 ¾ cups all-purpose flour
- 2 ½ teaspoons baking powder
- ½ teaspoon salt
- 1 cup unsalted butter, softened
- 2 ½ cups granulated sugar
- 5 large eggs
- 1 tablespoon vanilla extract
- 1 cup whole milk
- Gel food coloring (red, orange, yellow, green, blue, purple)
- 4 cups powdered sugar (for frosting)
- ½ cup unsweetened cocoa powder (for chocolate frosting)
- 1 cup heavy cream (for whipped cream topping)
- Sprinkles (for decoration)
Step-by-Step Instructions
Creating the Rainbow Birthday Cake is easy when you break it down into these simple steps:
- Preheat your oven to 350°F (175°C) and grease and flour six 8-inch round cake pans.
- Mix Dry Ingredients: In a bowl, combine the flour, baking powder, and salt. Set aside.
- Cream Butter and Sugar: In a large mixing bowl, beat the butter and sugar together until light and fluffy, about 3-4 minutes.
- Add Eggs: Add the eggs one at a time, mixing well after each addition. Stir in the vanilla extract.
- Combine Ingredients: Gradually add the flour mixture to the butter mixture, alternating with the milk, starting and ending with the flour. Mix until just combined.
- Divide Batter: Divide the batter evenly into six bowls.
- Add Colors: Using gel food coloring, dye each batter bowl a different color: red, orange, yellow, green, blue, and purple.
- Bake Layers: Pour each colored batter into its prepared cake pan. Bake for 25-30 minutes or until a toothpick comes out clean. Let the layers cool in their pans for about 10 minutes, then transfer to wire racks to cool completely.
- Prepare Frosting: While the cakes cool, whip the heavy cream until stiff peaks form. In another bowl, make the frosting by combining the powdered sugar and cocoa powder with your butter until smooth and fluffy.
- Assemble the Cake: Once all layers are cool, start stacking them in order of color from bottom to top, using frosting between each layer.
- Frost the Outside: Cover the entire cake with the chocolate frosting, smoothing it down for an even finish.
- Decorate: Finally, top with whipped cream and sprinkle colorful sprinkles over the top for a festive touch.
These steps will help you create a stunning Rainbow Birthday Cake that will wow your guests!
How to Serve
To make your Rainbow Birthday Cake truly memorable, consider these serving suggestions:
- Slice with Care: Use a sharp knife and wipe the blade between cuts for clean slices, revealing the colorful layers inside.
- Garnish: Add extra sprinkles or edible glitter on each slice for a playful presentation.
- Serve on Colorful Plates: Match the cake's playful vibe with bright plates and napkins to enhance the festive atmosphere.
- Pair with Beverages: Offer milk, soda, or fruit punch to complement the cake's sweetness.
- Let it Sit: Allow the cake to sit at room temperature for 15 minutes before serving, making it easier to slice and enjoy.
By following these tips, you'll create a delightful experience not just with the cake, but with how it is served. Your guests will remember this cake long after the party ends!
Additional Tips
- Use Quality Ingredients: Choosing high-quality ingredients can make a significant difference in the taste of your Rainbow Birthday Cake. Opt for fresh eggs, pure vanilla extract, and high-grade butter for the best results.
- Room Temperature Ingredients: Make sure your butter, eggs, and milk are at room temperature before you start mixing. This will help create a smooth batter that rises well.
- Mix Colors Carefully: When coloring the batter, use gel food coloring for vibrant shades. Start with a small amount and adjust to get your desired intensity.
- Layer Heights: Ensure your cake layers are even and not too thick to keep the cake well-balanced and easier to slice.
- Chill the Cake: For neater slices, chill your frosted cake in the refrigerator for about 30 minutes before serving. This helps set the frosting.
Recipe Variation
Feel free to customize your Rainbow Birthday Cake with these creative variations:
- Different Flavored Layers: Instead of all vanilla, try fruity flavors like raspberry or lemon for a refreshing twist. Each layer can have a unique flavor for a delightful surprise.
- Cream Cheese Frosting: Swap the chocolate frosting with cream cheese frosting for a tangy and creamy alternative that complements the sweetness of the cake.
- Gluten-Free Option: Replace all-purpose flour with a gluten-free flour blend to make this cake suitable for those with gluten intolerance.
- Theme Cakes: Create a themed Rainbow Birthday Cake by using specific colors for a special event, like using red and green for Christmas or pastels for Easter.
Freezing and Storage
Storing your Rainbow Birthday Cake properly helps maintain its deliciousness. Here are some tips:
- Storage: Keep the cake in an airtight container at room temperature for up to 3 days. For longer freshness, refrigerate it.
- Freezing: You can freeze the unassembled layers or the fully frosted cake. Wrap them securely in plastic wrap and foil to prevent freezer burn. Frozen layers can last up to 3 months.
- Thawing: To thaw, place the cake in the refrigerator for several hours or overnight before serving. This allows it to regain its original texture.
Special Equipment
To create your Rainbow Birthday Cake effectively, you’ll need the following equipment:
- Mixing Bowls: To mix your batter and frosting efficiently.
- Electric Mixer: A handheld or stand mixer will help you achieve light and fluffy batter quickly.
- Spatula: For smooth frosting application and to scrape down bowls.
- Cake Pans: Six 8-inch round cake pans are essential for baking each colorful layer evenly.
- Cooling Racks: Cooling racks are vital for allowing your layers to cool properly before frosting.
Frequently Asked Questions
How do I know when the cake is done baking?
Insert a toothpick into the center of the cake; if it comes out clean, the cake is done.
Can I make this cake ahead of time?
Yes, preparing the cake a day in advance is a great idea. It helps the flavors meld and makes the day of the celebration less hectic.
Is this cake suitable for dietary restrictions?
You can easily accommodate dietary restrictions by using gluten-free flour or dairy-free alternatives to butter and milk.
Can I eliminate the cocoa in the frosting?
Definitely! You can create a vanilla frosting instead. Just use extra powdered sugar and a bit of milk for the same consistency.
What to do if the layers slightly domed?
If your cake layers rise too much in the center, use a serrated knife to level them off before frosting.
Conclusion
The Rainbow Birthday Cake is not just a feast for the eyes; it's a treat for the taste buds as well! With its vibrant layers and delightful flavors, it promises to be the highlight of any celebration. Its versatility allows for endless combinations and adaptations, making it a favorite among both kids and adults. Whether you're celebrating a birthday or any joyous occasion, this cake will surely bring smiles and unforgettable memories.