Healthy Kit Kat Recipe: An Incredible Ultimate Treat for 4
Healthy Kit Kat Recipe will change the way you view snacks. These homemade delights bring all the thickness, crunch, and sweetness you expect from a Kit Kat bar, minus the guilt. Imagine biting into a satisfyingly crisp chocolate bar, knowing it contains wholesome ingredients that contribute to your well-being. This recipe allows you to enjoy a classic favorite while maintaining a healthier lifestyle. Whether you’re looking for a post-workout snack or a delightful dessert to impress your friends, this recipe has got you covered!
Creating a Healthy Kit Kat isn’t just a culinary endeavor; it’s a celebration of creativity and smart choices. With layers of homemade ‘wafer’ style cookies sandwiched between rich chocolate, this treat is both easy to make and incredibly rewarding. Your taste buds will dance with joy as you taste this healthy spin on a classic. Furthermore, it’s a fantastic way to indulge your sweet tooth without compromising your health goals.
In this guide, we’ll walk you through the process of making these Healthy Kit Kat bars step by step, including tips on how you can customize your creation. The amazing part about this recipe is that it’s highly adaptable; you can tweak it to fit your dietary preferences, whether you want it vegan, gluten-free, or sugar-free. So, let’s dive in and discover why this Healthy Kit Kat Recipe is bound to become your go-to snack!Why You’ll Love This Recipe
You’ll be amazed by this Healthy Kit Kat Recipe and how it mirrors the joy of the original without the unhealthy ingredients. Here are some reasons you’ll find it hard to resist:
1. Healthier Ingredients: Made with wholesome alternatives, this recipe uses natural sweeteners and whole grains.
2. Easy to Make: This recipe is straightforward with clear, easy-to-follow instructions.
3. Customizable: You can easily modify the ingredients to suit your preferences or dietary needs, such as using gluten-free flour or dairy-free chocolate.
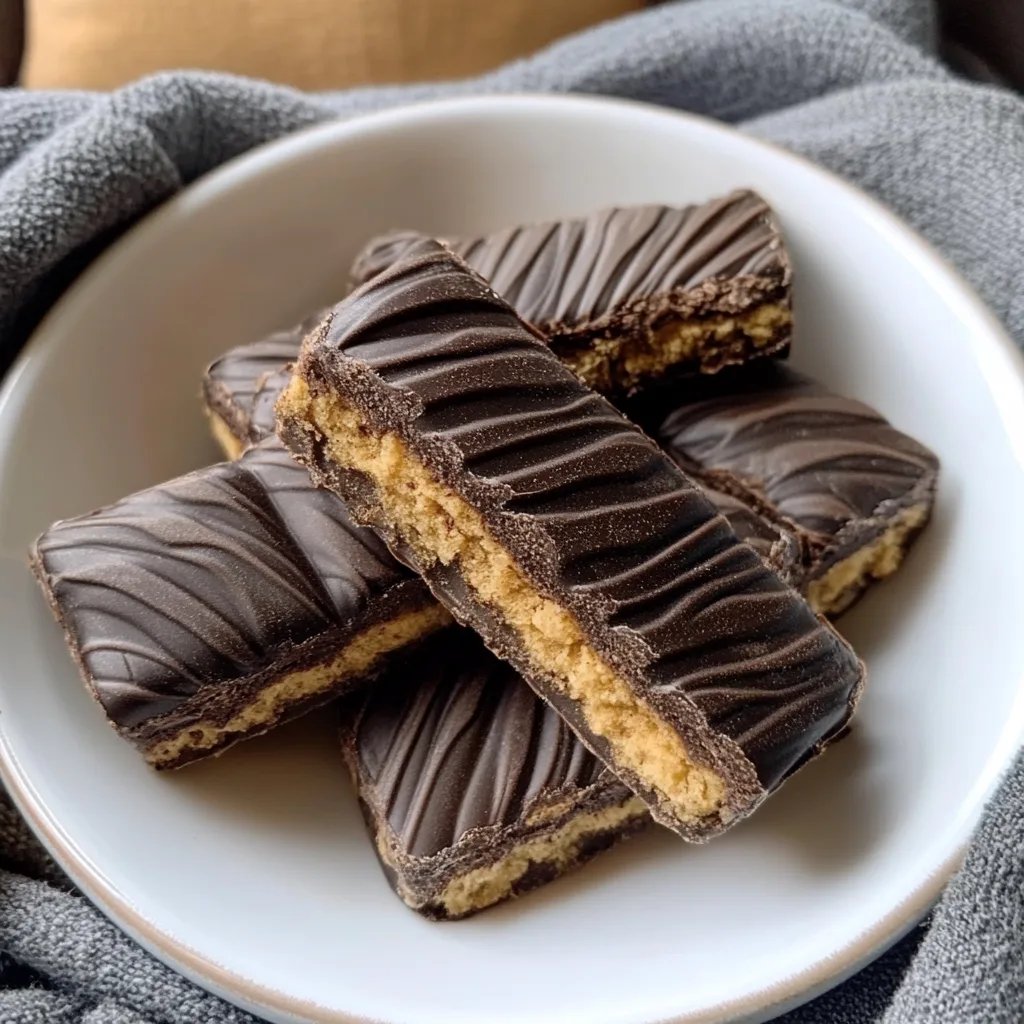
4. Satisfying Texture: The crunchy wafers combined with creamy chocolate provide a satisfying texture that mimics the classic snack.
5. Guilt-Free Indulgence: Enjoy a sweet treat that won’t derail your healthy eating plans.
6. Perfect for Sharing: These bars are a great addition to gatherings or can be packaged as homemade gifts.
Each bite is an explosion of flavor while still being mindful of what goes into your body. These Healthy Kit Kat bars are not just a snack; they are an experience worth savoring!
Preparation and Cooking Time
The entire process of making your Healthy Kit Kat bars will take about 1 hour and 15 minutes. Here’s how the timing breaks down for you:
– Preparation Time: 30 minutes
– Cooking Time: 15 minutes
– Cooling Time: 30 minutes
These times may vary based on your kitchen setup, but this framework will give you a solid estimate.
Ingredients
– 1 ½ cups almond flour
– ½ cup cocoa powder
– ¼ cup maple syrup or honey
– 1/3 cup coconut oil, melted
– 1 teaspoon vanilla extract
– 1/4 teaspoon salt
– ½ cup dark chocolate chips
– 2 tablespoons coconut milk (for melting chocolate)
Step-by-Step Instructions
Making your Healthy Kit Kat bars can be a fun and rewarding experience! Just follow these easy steps:
1. Preheat the Oven: Set your oven to 350°F (175°C) and line a small baking dish with parchment paper.
2. Mix Dry Ingredients: In a large bowl, combine almond flour, cocoa powder, and salt. Stir until well mixed.
3. Combine Wet Ingredients: In another bowl, whisk together melted coconut oil, maple syrup (or honey), and vanilla extract until fully integrated.
4. Combine Mixtures: Gradually pour the wet mixture into the dry ingredients. Stir until it forms a dough that holds together.
5. Flatten Dough: Spread the dough evenly in the prepared baking dish. Press it down firmly to ensure it’s compact.
6. Bake: Place in the preheated oven and bake for 15 minutes. Remove and allow to cool completely.
7. Melt Chocolate: In a microwave-safe bowl, combine dark chocolate chips and coconut milk. Microwave in 20-second intervals, stirring in between, until smooth.
8. Assemble Bars: Once the baked layer has cooled, cut it into bar shapes. Dip each bar into the melted chocolate, coating thoroughly, and place on a wire rack to set.
9. Final Chill: Chill the coated bars in the refrigerator for about 30 minutes, allowing the chocolate to harden.
10. Enjoy: Once set, these bars are ready to be devoured!
By following these steps, you’ll be able to create your Healthy Kit Kat bars effortlessly!
How to Serve
To elevate the experience of your Healthy Kit Kat bars, consider the following presentation tips:
1. Plating: Arrange the bars on a decorative platter or cake stand for an appealing look.
2. Garnishing: Sprinkle some cocoa powder or crushed nuts on top for added texture and visual appeal.
3. Pairing: Serve with almond milk, coconut yogurt, or a cup of herbal tea for a delightful snacking moment.
4. Gift Packaging: Wrap individual bars in foil or craft paper for a thoughtful homemade gift.
5. Seasonal Flavors: For a twist, you can add seasonal flavors like peppermint extract or pumpkin spice.
These serving suggestions will help you impress your friends or family while enjoying your delicious and healthy creations!
Additional Tips
– Opt for Natural Sweeteners: Instead of refined sugars, opt for natural sweeteners like maple syrup or dates to keep the Healthy Kit Kat Recipe nutritious.
– Experiment with Flavors: Don’t hesitate to add flavor extracts such as almond or orange for a unique twist on the classic taste.
– Let the Bars Chill: Be sure to let the bars cool completely before chocolate dipping. This prevents the chocolate from melting too quickly and ensures a smooth coating.
– Use Quality Chocolate: High-quality dark chocolate enhances the flavor and adds health benefits. Look for options with at least 70% cocoa.
Recipe Variation
There are endless ways to personalize your Healthy Kit Kat Bars! Here are some variations to inspire you:
1. Nut Butter Layer: Spread a layer of nut butter between the wafers before dipping in chocolate for a nutty surprise.
2. Coconut Flavored: Add shredded coconut to the chocolate coating for an added texture and tropical flavor.
3. Vegan Version: Substitute egg replacers and use dairy-free chocolate to adapt this recipe for a vegan diet.
4. Protein-Packed Bars: Mix in protein powder to increase the nutritional value without compromising flavor.
Freezing and Storage
– Storage: Keep your Healthy Kit Kat bars in an airtight container at room temperature for up to a week. Alternatively, refrigerate them to extend freshness.
– Freezing: For longer storage, these bars freeze beautifully. Wrap each one tightly in plastic wrap and place them in a freezer-safe container for up to three months.
Special Equipment
To create these Healthy Kit Kat bars successfully, you will need the following equipment:
– Mixing Bowls: For combining ingredients.
– Baking Dish: A small rectangular or square baking dish lined with parchment paper.
– Microwave-Safe Bowl: For melting chocolate and coconut milk together.
– Wire Rack: To cool and set the dipped bars properly.
Frequently Asked Questions
Can I replace almond flour with regular flour?
Yes, but the texture might be different. Almond flour provides a nutty flavor and denser texture, making it a healthier alternative.
How do I know when my bars are fully set?
The chocolate coating should be firm to the touch after chilling, and it will take about 30 minutes in the fridge for it to set completely.
Can these bars be made ahead of time?
Absolutely! These bars can be prepared a few days in advance and stored appropriately.
What if I have nut allergies?
You can substitute almond flour with oat flour or any other gluten-free flour to make this recipe nut-free.
Is there a way to lower the calories further?
You can reduce the amount of chocolate used or use a lower-calorie sweetener in place of maple syrup or honey.
Conclusion
The Healthy Kit Kat Recipe is a delightful way to enjoy a beloved classic while adhering to health-conscious choices. With a satisfying crunch and rich chocolate flavor, these bars make for a perfect snack or dessert. You can proudly share them with friends and feel good about indulging in a treat that aligns with your wellness goals. Enjoy experimenting with flavors and variations, making this recipe a versatile addition to your kitchen repertoire.