Banana Sushi: The Amazing Ultimate Guide with 7 Simple Steps
Banana Sushi is an incredible and fun treat that combines the delightful flavors of bananas with various toppings. It’s a perfect snack, dessert, or party food that appeals to both kids and adults. For those looking to add a unique twist to their culinary repertoire, Banana Sushi offers a vibrant and tasty alternative to traditional sushi.
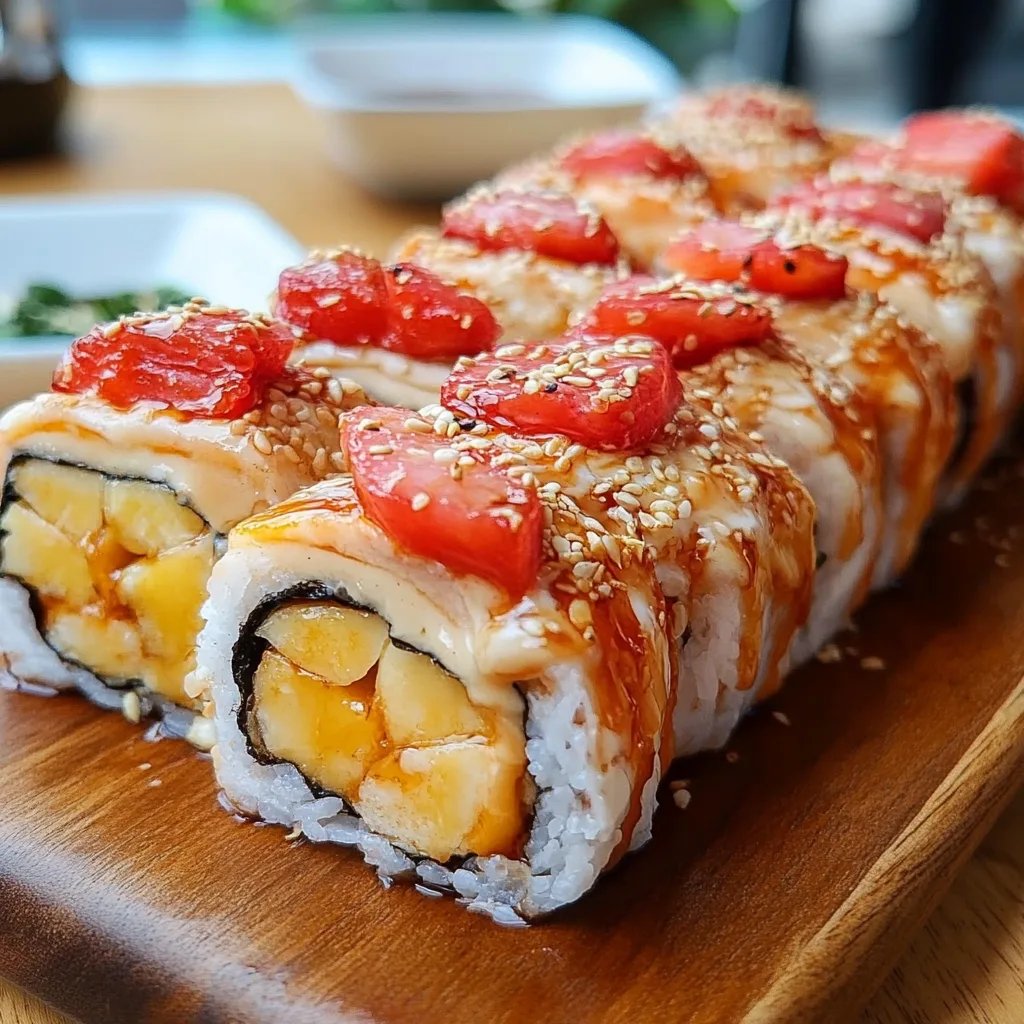
Imagine this: a perfectly ripe banana rolled in nut butter and covered with colorful toppings like granola, coconut flakes, or chocolate sprinkles. This delightful combination not only tastes wonderful but also looks stunning, making it a great dish for gatherings or even a simple afternoon snack. Plus, it’s an excellent way to sneak in some healthy ingredients, especially when you’re trying to encourage kids to eat more fruits.
The beauty of Banana Sushi lies in its versatility. You can easily customize the fillings and toppings to suit your taste. Whether you prefer crunchy, sweet, or even a slight kick of spice, the options are nearly endless. As a nutrition powerhouse, bananas are high in potassium and fiber, making them a refreshing choice for a snack.
In this guide, we’ll explore why you’ll love this simple recipe, how to prepare it, and the exciting ways to serve it. Prepare to impress your friends and family with this unique treat that perfectly combines fun and flavor!
Why You’ll Love This Recipe
Banana Sushi is not just a delicious alternative to traditional sushi; it also brings numerous benefits that make it a must-try. Here are some reasons why you’ll adore this amazing recipe:
- Healthy Ingredients: Made primarily with bananas and natural toppings, Banana Sushi is a guilt-free treat.
- Quick and Easy: The simplicity of preparation means you can whip it up in minutes, making it ideal for busy days.
- Fun to Assemble: Rolling banana sushi together can be a fun activity, especially for kids.
- Customizable: You have the freedom to experiment with various toppings and fillings. This makes every roll unique and suited to your taste.
- Visually Stunning: The colorful toppings create a beautiful presentation that will wow your guests.
- Perfect for Any Occasion: Whether for a casual gathering, a kid’s birthday party, or a snack at home, Banana Sushi fits right in.
- Great for Meal Prep: This recipe is perfect for preparing snacks ahead of time to grab on the go!
These features combine to make Banana Sushi not just a dish, but an enjoyable culinary experience you won't forget!
Preparation and Cooking Time
The overall preparation time for Banana Sushi is minimal. It’s quick enough that you can make it even on a busy day! Here’s the breakdown:
- Preparation Time: 10 minutes
- Chilling Time (optional): 10-15 minutes
- Total Time: Approximately 25 minutes
This recipe demonstrates that you don’t need to spend hours in the kitchen to serve something impressive!
Ingredients
- 2 ripe bananas
- 2 tablespoons of nut butter (e.g., almond, peanut, or cashew)
- ¼ cup granola
- ¼ cup shredded coconut
- ¼ cup chocolate chips or sprinkles
- A dash of cinnamon (optional)
- 1 tablespoon honey or maple syrup (optional, for drizzling)
Step-by-Step Instructions
Creating Banana Sushi is an easy and enjoyable process. Follow these straightforward steps to make your own delightful rolls:
- Prepare the Bananas: Peel the bananas and place them on a clean cutting board.
- Spread Nut Butter: Using a butter knife or spatula, spread nut butter evenly over the entire surface of each banana.
- Add Toppings: Roll the nut butter-covered banana in your selected toppings, like granola or shredded coconut, ensuring it adheres well.
- Slice the Banana: Using a sharp knife, cut the banana into bite-sized pieces (about 1-inch thick) to resemble sushi rolls.
- Arrange on a Plate: Place the sliced pieces neatly on a serving plate.
- Optional Drizzle: Drizzle honey or maple syrup over the top for added sweetness if desired.
- Chill (Optional): For a refreshing treat, chill the banana sushi in the fridge for about 10 minutes before serving.
By following these easy steps, you’ll create an amazing and visually appealing treat in no time!
How to Serve
Serving Banana Sushi can enhance the enjoyment of this flavorful treat. Here are some creative ideas for presentation:
- Colorful Platter: Place the banana pieces on a vibrant platter to create a cheerful display, ideal for parties.
- Dipping Sauces: Serve with small bowls of yogurt, honey, or chocolate sauce as dips, providing a fun interactive element.
- Garnish with Fresh Fruits: Accompany the sushi with fresh fruits like strawberries or blueberries to elevate the presentation.
- Kid-Friendly Serving: For a fun, kid-friendly touch, serve the banana sushi with toothpicks or small skewers.
- Healthy Snack Box: Package the banana sushi in a lunchbox with additional snacks, such as nuts or dried fruit, for a nutritious on-the-go meal.
Incorporating these serving suggestions will help to make your Banana Sushi a hit at any gathering or occasion. Enjoy the vibrant flavors and healthy components, and watch as friends and family rave about this fun dish!
Additional Tips
- Experiment with Toppings: Don’t hesitate to try different toppings such as chia seeds, crushed nuts, or even colorful candies for added fun!
- Cut Uniformly: Slice the banana rolls evenly to ensure every piece has a balanced topping-to-banana ratio.
- Use Fresh Bananas: Choose ripe bananas that are not overly mushy for the best flavor and texture.
Recipe Variation
Get creative with variations! Here are a few recommendations to try:
- Nut-Free Option: Replace nut butter with sunflower seed butter for a delicious nut-free alternative.
- Tropical Twist: Add diced mango or pineapple pieces to your banana sushi for a refreshing tropical flavor.
- Spicy Kick: Sprinkle a bit of chili powder or cayenne pepper on the nut butter before adding the toppings for a unique, spicy version.
Freezing and Storage
- Storage: Keep Banana Sushi in an airtight container in the refrigerator. It should stay fresh for up to 2-3 days.
- Freezing: You can freeze the banana sushi pieces. Wrap them individually in plastic wrap and store them in a freezer-safe container for up to a month. Just thaw before serving!
Special Equipment
You won’t need much specialized equipment to make Banana Sushi. Here’s what you may find helpful:
- Cutting Board: A clean surface for assembling and slicing.
- Knife: A sharp knife for cutting the sushi into bite-sized pieces.
- Spatula or Butter Knife: For spreading nut butter smoothly on the bananas.
Frequently Asked Questions
Can I make Banana Sushi with other fruits?
Yes! Feel free to experiment with other fruits like apples or peaches.
How many pieces can I make with 2 bananas?
Depending on how thick you slice them, you can typically get around 8-10 pieces from 2 bananas.
Is it necessary to chill the Banana Sushi before serving?
Chilling is optional, but it adds a refreshing touch during warmer months.
Can I prepare Banana Sushi ahead of time?
You can prepare it in advance, but it’s best enjoyed fresh. If you do make it ahead, store it properly in the fridge!
What toppings work best for Chocolate Lovers?
Consider using chocolate hazelnut spread instead of nut butter and topping it with chocolate chips and crushed cookies.
Conclusion
Banana Sushi is an inventive and delightful way to enjoy a healthy snack. With its simple preparation, customizable toppings, and colorful presentation, it’s perfect for parties, kids’ lunches, or just as a fun treat at home. This recipe embodies the spirit of creativity and fun in the kitchen. Get the whole family involved in making this unique dish that combines health and enjoyment!